


The Amazon Echo Dot 4th Generation is a voice-controlled smart speaker with Alexa built-in. You can use the Echo Dot to play music, control smart home devices, call almost anyone hands-free, and more. In this article, we will show you how to set up your new Echo Dot so you can start using it right away.
What’s in the box?
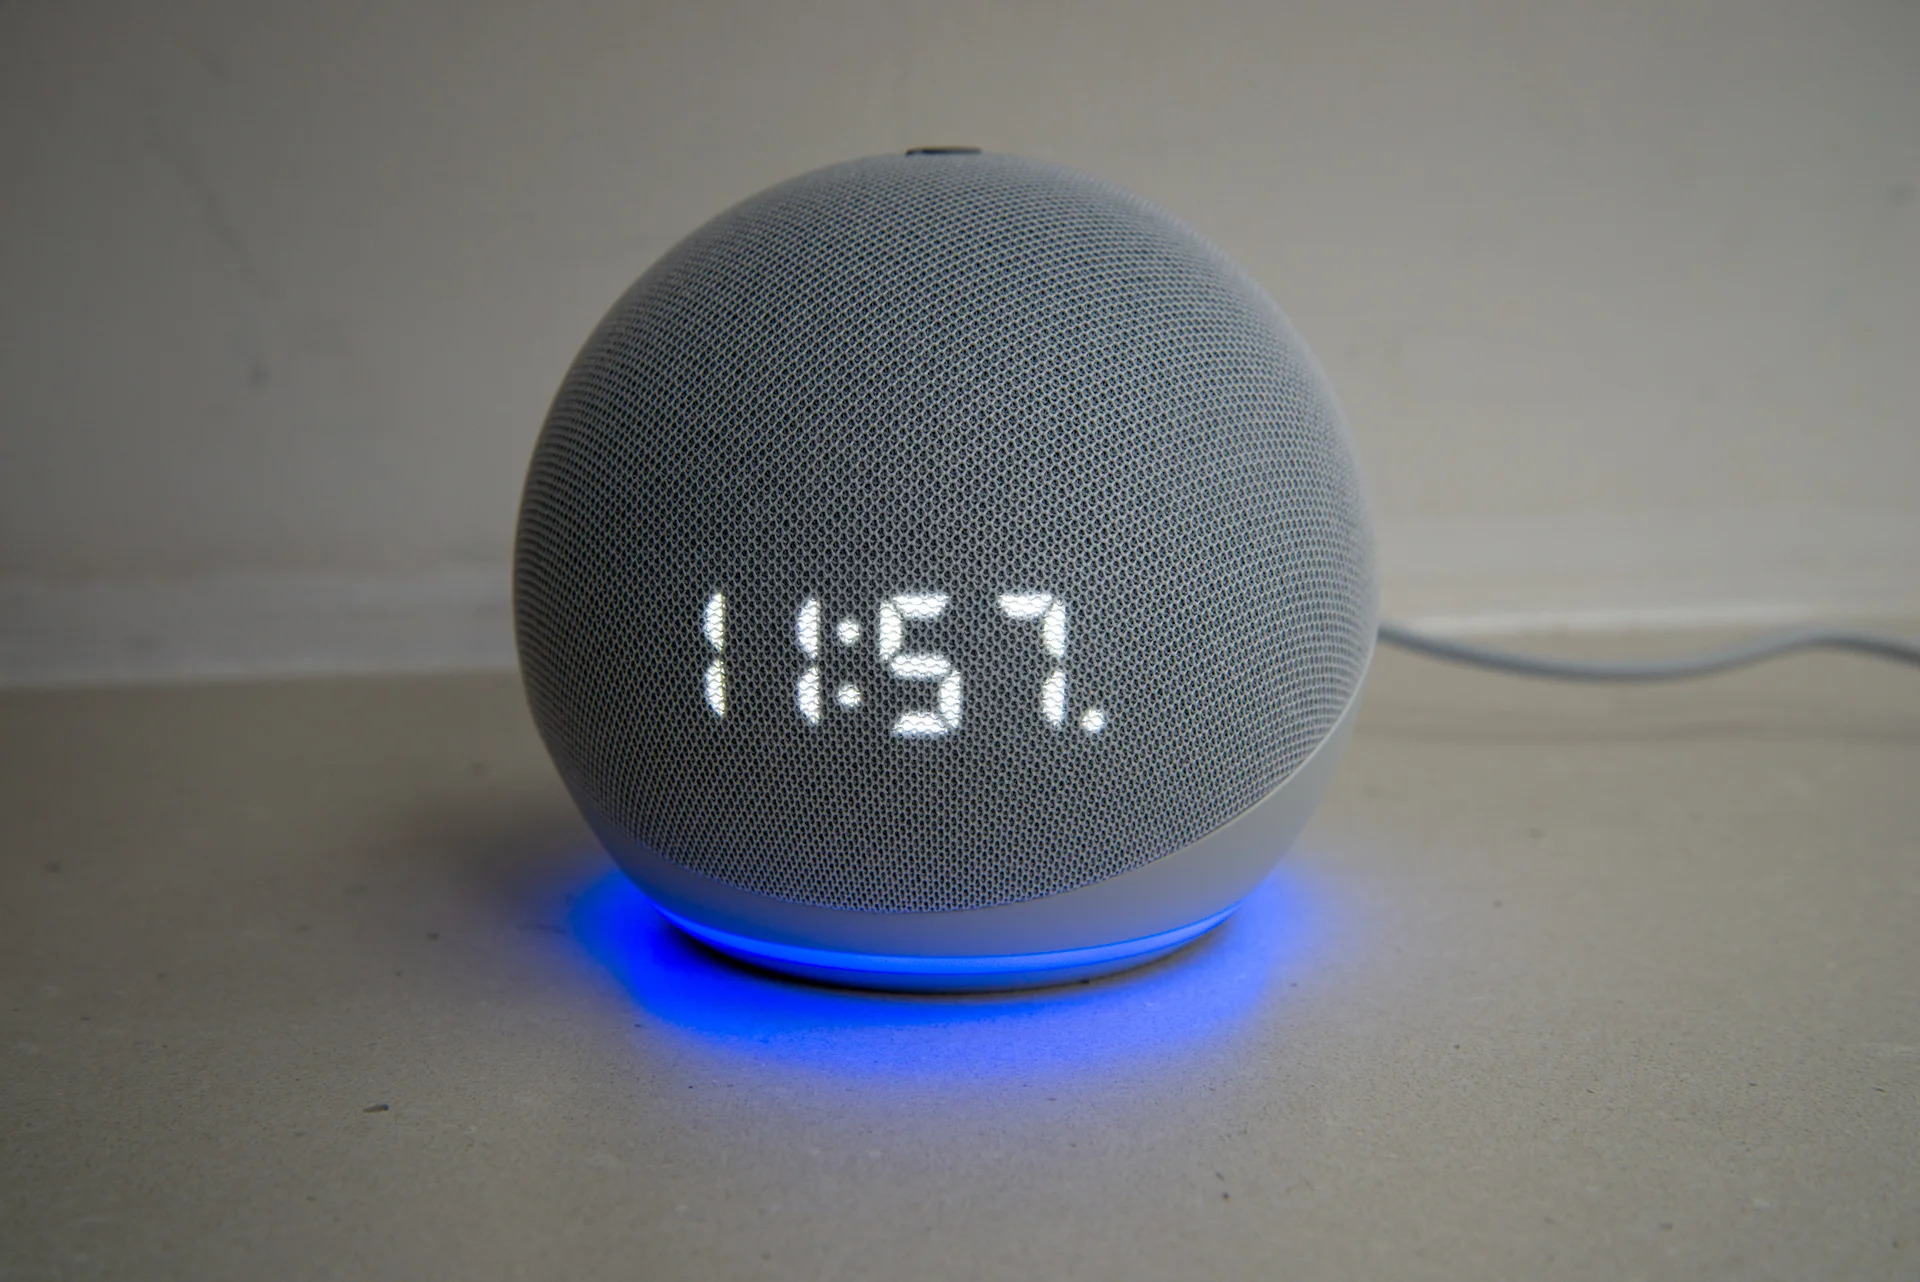
When you open the box, you should find the Echo Dot 4th Generation, a power adapter, and a quick start guide. The Echo Dot is a small, round device that has a light ring at the top. The power adapter plugs into the Echo Dot and then into an outlet. The quick start guide will help you get started with using your Echo Dot.
Connecting your Echo Dot 4th Generation
- Connect the power adapter to your Echo Dot 4th Generation and plug it into a power outlet.
- Once your Echo Dot is plugged in, the light ring will turn on and you’ll see a message saying “Hello, your Echo Dot is ready to set up.”
- To set up your Echo Dot, open the Alexa app on your mobile device and follow the prompts. You’ll need to connect your Echo Dot to Wi-Fi and create an Amazon account if you don’t already have one.
- Once you’ve completed the setup process, you can start using your Echo Dot. To wake up your Echo Dot, just say “Alexa” followed by a command. For example, you can ask Alexa to play music, get the news, set a timer, or add items to a shopping list.
Setting up your Echo Dot 4th Generation
Follow these instructions to set up your Echo Dot.
- Plug in your Echo Dot and wait for it to boot up.
- Once your Echo Dot is booted up, open the Alexa app on your smartphone.
- In the Alexa app, create a new Amazon account or sign in with your existing account.
- Follow the instructions in the app to connect your Echo Dot to your Wi-Fi network.
- Once your Echo Dot is connected to Wi-Fi, you can start using it!
Using your Echo Dot
To use your Echo Dot 4th Generation, first say the wake word “Alexa.” This will activate the device and allow you to give it commands. You can then ask it to do things like play music, set a timer, or answer questions.
To set up your Echo Dot, you’ll need to download the Alexa app on your smartphone or tablet. Once you have the app installed, open it and follow the instructions to connect your Echo Dot to your Wi-Fi network. Once it’s connected, you’ll be able to use all of its features.
If you have any trouble setting up your Echo Dot, Amazon offers comprehensive support online or over the phone. You can also find helpful tips and tricks from other Echo Dot users in online forums.
Tips and tricks
There are a few things to keep in mind when setting up your new Echo Dot 4th Generation. First, choose a good location for it. The Echo Dot should be placed in a central location in your home so that it can hear you from anywhere in the room. It’s also important to make sure that the Dot has a clear line of sight to you so that it can pick up your voice clearly.
Second, connect the Echo Dot to your home Wi-Fi network. This will allow you to use all of the features of the Dot, including voice control of your smart home devices and access to Amazon Alexa skills. To do this, open the Alexa app on your smartphone and follow the instructions.
Finally, take some time to explore all of the features of your new Echo Dot. Familiarize yourself with the different settings and options so that you can get the most out of your Dot. There are a lot of great things that it can do!
Conclusion
If you are looking for a way to easily add an Alexa-enabled device to your home, the Echo Dot 4th Generation is a great option. In this article, we have given you a step-by-step guide on how to set up your new Echo Dot. We hope that this guide has been helpful and that you’re now enjoying your new device. If you have any questions or comments, please feel free to leave them below.


